
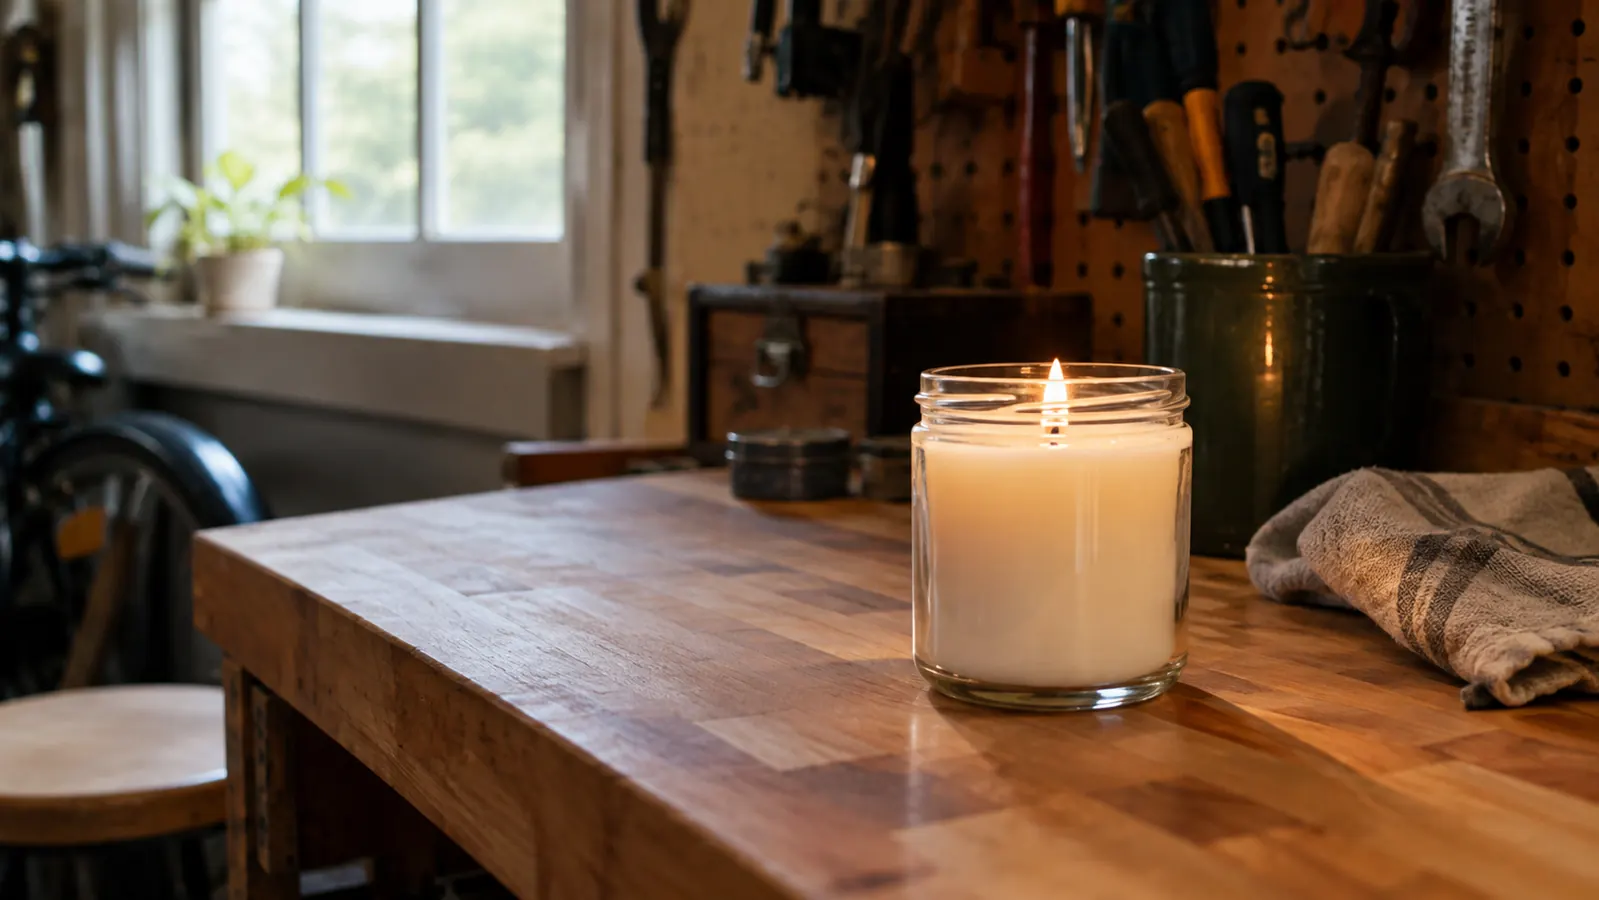
The first candle I ever poured had a wick that was too small, and I only found out after the wax set. It drowned in the melt pool, and I had to dig it out with a butter knife. The second candle I made had a wick that was too big, and it smoked like a campfire. That one went straight into the trash. I am Marla Quinlan, and I have been making candles at home for years, selling them at a farmers market booth on Saturdays. If you are new to candle making, the wick is the part that decides whether your candle burns clean or whether you spend your evening scraping soot off the jar. Last February I poured a dozen 8 ounce jars with a heavier fragrance load than usual, and eleven of the twelve drowned on the first burn. I spent that evening digging out wicks with a butter knife. The EricX Light Wicks I pour with now are a big part of why I stopped having evenings like that.
The good news is that picking the right wick is not a mystery. It is a simple process of matching the wick to your wax, your jar, and your fragrance load. And centering it is even easier once you know a few tricks. I have used the EricX Light Wicks for most of my candles, and they have made the whole process more predictable. The pre-waxed coating means I do not have to dip wicks in wax myself, which saves a step on pour days. Here is my step by step process for picking and centering a wick so you get a clean burn every time.
Start with a wick that actually fits your jar
The EricX Light Wicks are pre-waxed cotton wicks with a natural core, and they come in a 100 piece pack. That is enough to test several sizes in your first few pours. Check today's price on Amazon and see if they work for your candle jars.
Amazon Check Today's Price on Amazon →Step 1: Know your wax and your jar before you buy anything
Every wax behaves differently. Soy wax is soft and needs a larger wick to get a full melt pool. Coconut wax burns hotter and can often use a smaller wick. Beeswax is dense and burns slowly, so it needs a wick with a good strong flame. If you buy a random pack of wicks without thinking about your wax, you are guessing, and guessing is why so many first candles fail.
Your jar matters just as much. A wide jar needs a wider wick or two wicks, because the flame has to spread heat across the whole surface. A narrow jar needs a smaller wick, or you will get a huge flame and a lot of smoke. Measure the diameter of your jar at the top, not the bottom, because that is the widest point the flame has to cover. I learned that the hard way with a taper-sided jar that measured 3 inches across the top but only 2.25 inches at the base. I sized the wick for the base, and that candle tunneled straight down the middle, leaving a half inch wall of wax on every side. It looked perfect on the outside and burned terribly.
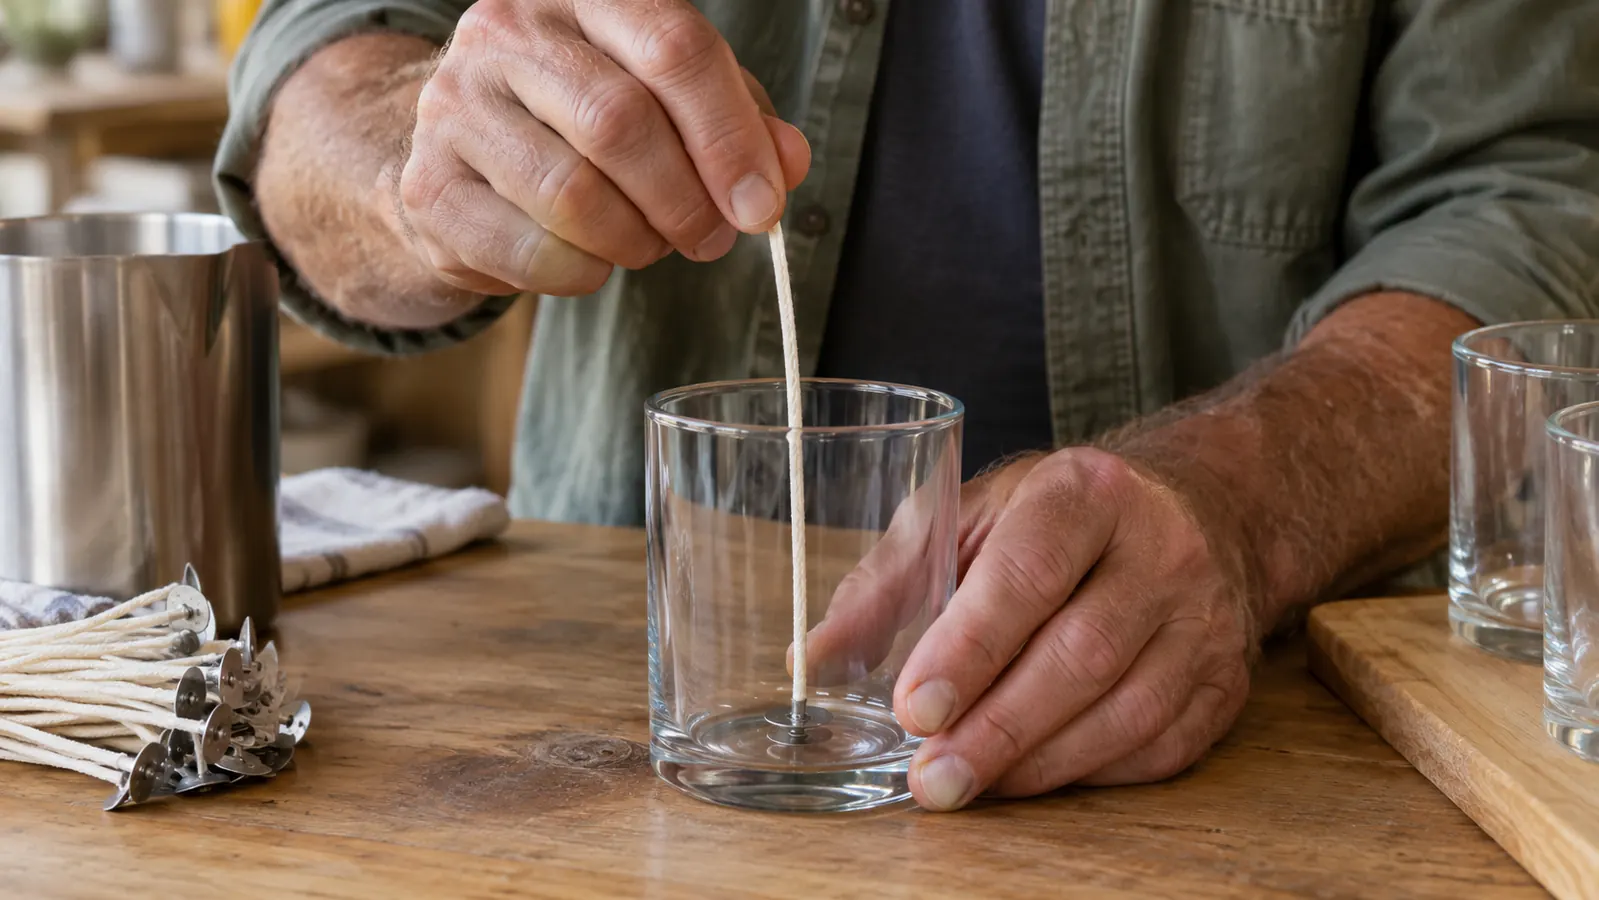
For my standard 8 ounce straight-sided jar, which is about 2.75 inches across, I start with a medium cotton wick. For my 4 ounce tins, I go smaller. The EricX Light Wicks come in a 6 inch length, which is plenty for most containers, and you can trim them to fit. Having one pack that covers a range of jars is exactly why I reach for them. I write the jar diameter at the top of every page in my notebook, right above the wax name, so I never have to remeasure a jar I have already tested.
Step 2: Match the wick size to your fragrance load
Fragrance oil changes how wax burns. The oil is essentially fuel, and more fuel means a bigger flame. If you use a heavy fragrance load, like 8 to 10 percent, you often need to step down a wick size so the flame does not get too tall. If you use a light fragrance load, you might need to step up a size to get a full melt pool. For my market candles, I stay around 7 percent, which gives a strong scent throw without forcing me to change wick sizes.
This is the part that surprises most beginners, because they think the wick is just a wick. It is not. The wick is the control valve for the whole candle. A wick that is too big for your fragrance load will mushroom, smoke, and create soot on the rim of your jar. A wick that is too small will drown and tunnel, leaving wax stuck to the sides. Last March I poured a batch of cedar and vanilla at 10 percent and kept my usual wick. By the second burn, every jar had a carbon mushroom the size of a pea and a black ring around the rim. I stepped down one wick size, poured the same fragrance again, and that batch burned clean with a full melt pool in about forty minutes.
I keep a notebook for every batch I pour. I write down the wax, the jar, the fragrance, the percentage, and the wick size. When a candle burns well, I know exactly what to repeat. When it does not, I know exactly what to change. The EricX Light Wicks are consistent enough that I can trust the notes from one batch to the next, which is more than I can say for some of the wicks I have tried from craft store bins.
Step 3: Trim the wick to the right length before you pour
A wick that is too long creates a tall, lazy flame that flickers and smokes. A wick that is too short can drown in the wax before it has a chance to catch. I trim my wicks to about a quarter inch above the surface of the wax, right before I pour. That gives the flame enough fuel to start strong without producing a tower of soot. I measure from the top of the wax, not from the bottom of the jar, because that is the distance the flame actually sees.
The EricX Light Wicks are pre-waxed, which means the wick is already coated in a thin layer of wax. That makes them stiff enough to stand up straight in the jar, and it means they light easily the first time. I still trim them before every pour, because the pre-waxing is about stiffness and easy lighting, not about the right length.
Use sharp scissors or a dedicated wick trimmer. Dull scissors crush the cotton core, and a crushed core makes the flame uneven. I learned that the hard way when I used a pair of kitchen shears that were past their prime, and every candle in that batch burned with a crooked flame. A clean cut makes a clean burn. I trim to a quarter inch and I trim straight across, not at an angle. An angled cut makes the flame lean to one side, and a leaning flame is the first step toward an off-center burn.
Step 4: Center the wick before the wax sets
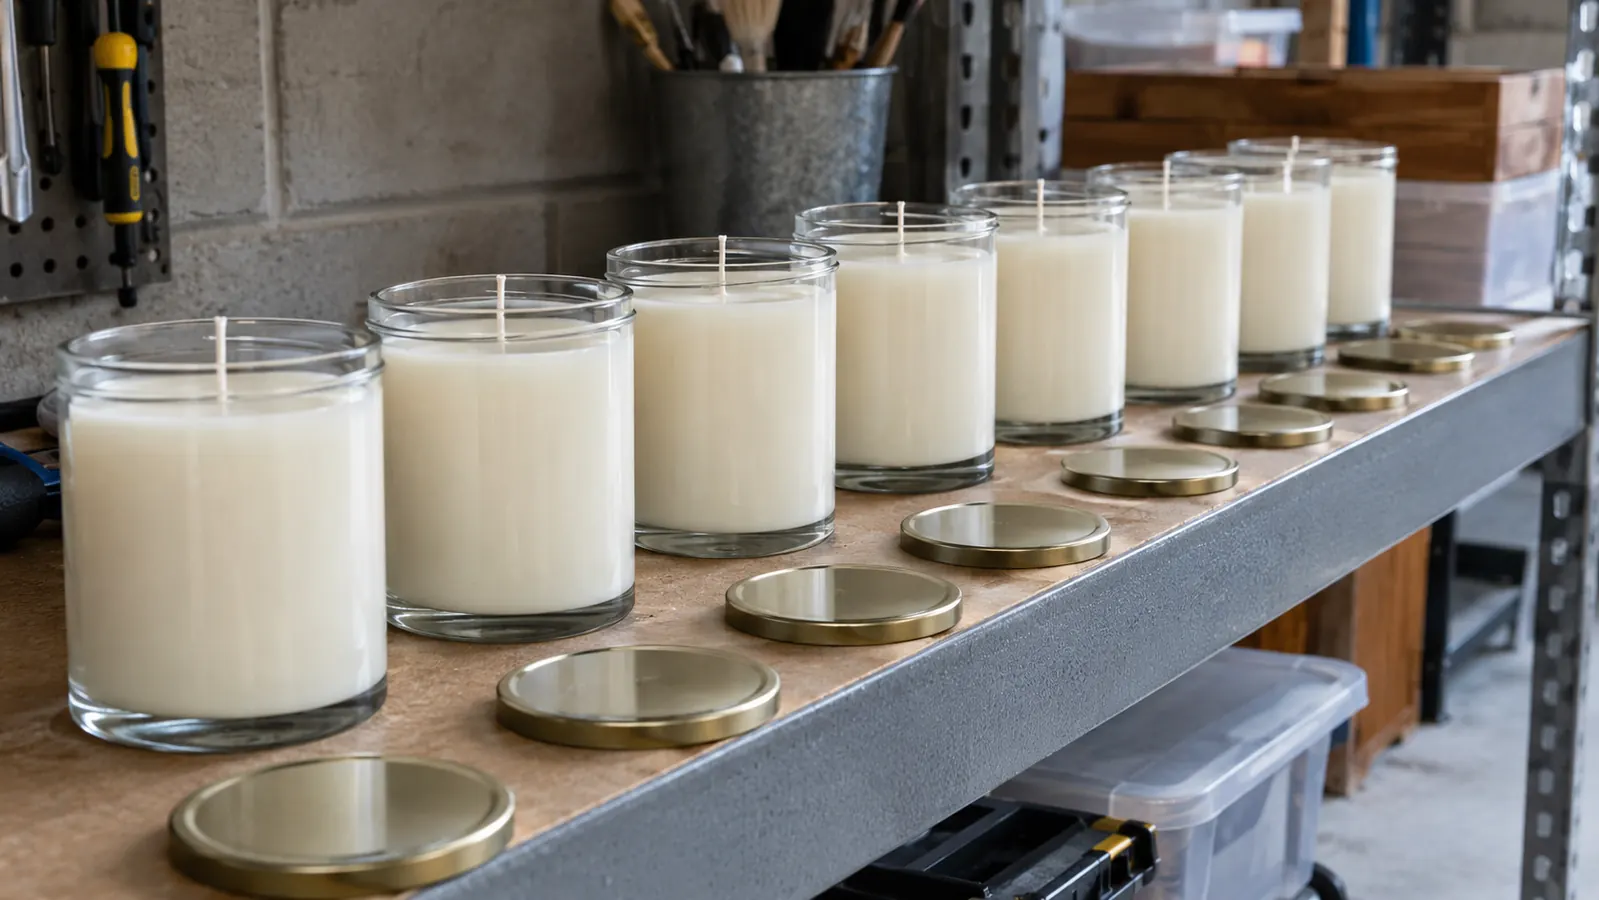
This is the step that most beginners rush, and it is the one that determines whether your candle burns evenly. If the wick is off center, the flame sits closer to one side of the jar. That side gets hotter, the wax melts faster on that side, and the candle tunnels. The fix is simple: hold the wick in place until the wax starts to set. I check the wick again about ten minutes after pouring, because that is when the wax starts to thicken and the wick can drift if it is not held tight.
I use a wick centering tool, which is basically a small metal bar with a hole in the middle that sits across the top of the jar. The wick goes through the hole, and the bar holds it in place while the wax cools. If you do not have a centering tool, you can use two chopsticks or a pencil laid across the rim, with the wick tied to the middle.
The EricX Light Wicks are stiff enough from the pre-waxing that they hold their position well, but I still use a centering tool for every pour. It takes five seconds, and it saves you from the disappointment of a candle that burns halfway down one side and leaves a wall of wax on the other. I have poured hundreds of candles, and I still check the wick position before I walk away. One November I rushed a batch of twenty-four 4 ounce tins the night before the market, centering the wicks by eye because I wanted to save time. Three of them burned down one side and left a crescent of wax that never melted. I pulled those three off the booth table the next morning and sold them to a friend for testing, but I still felt the sting. Now the centering tool stays on the table where I can see it.
Step 5: Test every new wick before you commit to a batch
The only way to know if a wick works is to burn it. I pour one test candle, wait the full cure time, and then burn it in a draft-free room for two to three hours at a time. I check for three things: a full melt pool that reaches the edges of the jar, a flame that is steady and not too tall, and no soot on the rim or the glass. I pour the test candle in the same jar I plan to sell in, not a random votive, because the jar changes how the flame behaves.
I also check the mushroom. A small ball of carbon on the tip of the wick is normal, but a big mushroom means the wick is too big for the wax and fragrance combo. If I see a mushroom, I step down a size and test again. This is why I like the EricX Light Wicks pack of 100. It is affordable enough to test several sizes without feeling like I am wasting money. I have burned through three different sizes in a single week when I was testing a new coconut soy blend, and the pack still lasted me through the whole season.
The last thing I check is the second burn. The first burn sets the memory of the candle, but the second burn tells you if the wick is going to keep up. If the flame drowns on the second burn, the wick is too small. If it smokes on the second burn, it is too big. Two burns tell you almost everything you need to know.
What Else Helps
A good wick does a lot of the work, but it is not the only thing that matters. Pour your wax at the right temperature, usually around 135 to 145 degrees Fahrenheit for soy, and stir gently to avoid trapping air bubbles. I pour my straight soy at 135 and my coconut soy blend at 150, because the coconut wax needs a little more heat to bind with the fragrance. Let your candles cure for at least a week, even if the surface looks solid. The wax needs time to bind with the fragrance, and a candle that is tested too early will not behave the way it will after a full cure.
I also keep my wick trims in a small dish next to my pouring station, and I wipe the rim of every jar with a paper towel before the wax sets. A clean rim means no wax drips down the outside of the jar, and it means the wick has a clean surface to sit against. I burn test in the garage rather than the kitchen, because the kitchen has too many drafts from the stove and the hallway. I also number my jars with a grease pencil on the bottom before they go on the shelf, so I know which batch each one belongs to when I pull them for the booth. These little habits add up to candles that look as good as they burn.
The wick is the control valve for the whole candle. A wick that is too big will smoke, and a wick that is too small will drown. Get that one piece right, and everything else gets easier.
Get a pack of wicks you can actually test with
The EricX Light Wicks give you 100 pre-waxed cotton wicks in one pack, which is exactly what you need to test sizes and find the right one for your jars. Check today's price on Amazon and grab a pack before your next pour.
Amazon Check Today's Price on Amazon →