
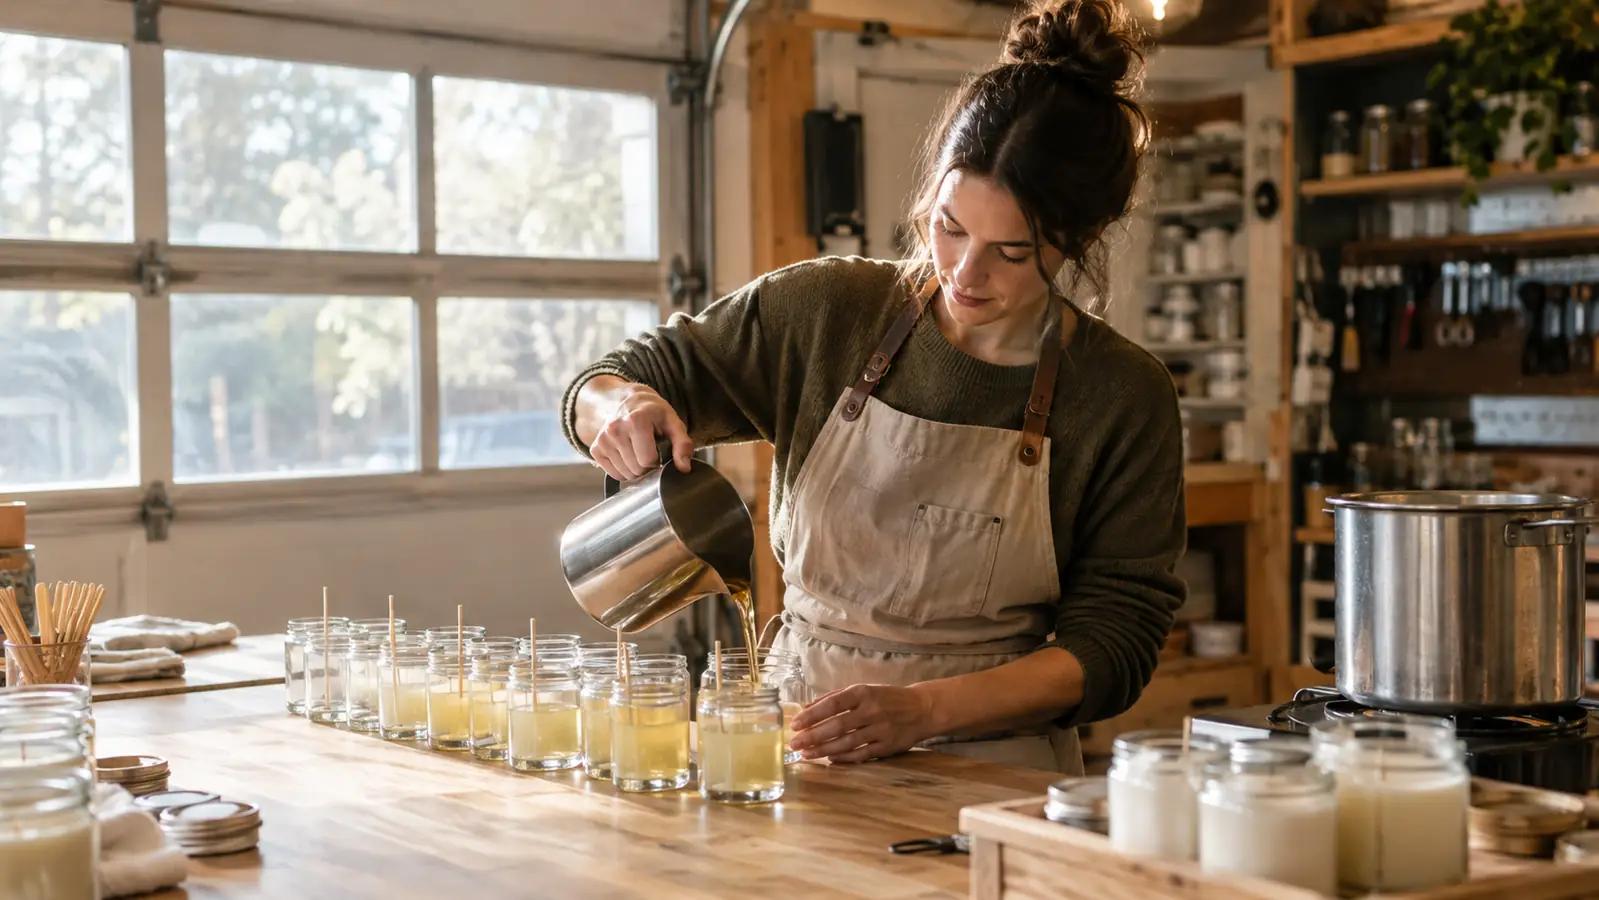
The first time I filled candle jars for a market booth, I did everything the slow way. I scrubbed each jar with dish soap, dried them with a dish towel, and then spent half a Saturday picking lint off the glass before I could pour. The candles turned out fine. The process was a mess. After four years of pouring in a corner of my garage, I have a system now, and it starts with the jars themselves. I use the SHOWIN Candle Jars, a 16 pack of 7 ounce clear glass jars with wood lids, and they have made my market prep about three hours shorter every single week.
This guide is the exact routine I follow from the moment a box of jars lands on my butcher-block table to the moment the last candle goes into the crate for the Saturday market. It is not the only way to do it. It is the way that has kept me sane, kept my wicks centered, and kept my booth from looking like a science fair project.
Start with jars that do half the prep work for you
The SHOWIN Candle Jars come clean, with wood lids that fit right out of the box. That means you can spend your prep time on wax and wicks instead of scrubbing glass. Check today's price on Amazon and see if they fit your pour schedule.
Amazon Check Today's Price on Amazon →Step 1: Unpack and inspect every jar before you wash anything
When a box of SHOWIN jars arrives, I open it on the garage table and check every single jar before I do anything else. I am looking for chips on the rim, cracks in the glass, and lids that do not sit flat. Out of the 16 packs I have ordered over the years, I have found maybe two jars with issues, and SHOWIN replaced them without a fuss. But you do not want to discover a cracked jar after you have poured hot wax into it. Last spring, a friend of mine who sells at the same market skipped this step with a different brand of jars. She melted a full pitcher of wax, started pouring, and watched wax leak out through a hairline crack in the bottom of the third jar. She lost the jar, the wax, and the scent oil she had already mixed in. I have never skipped the inspection since.
I also take the wood lids out and set them aside in a clean cardboard box. The lids do not need washing, and getting them wet can make the wood swell. Keep them dry and they will keep fitting snugly. Give the glass jars a quick wipe with a dry microfiber cloth to remove any dust from shipping, then move them to your pouring area. I keep a stack of old newspaper on the table for this part, so the jars never touch the bare wood before they are clean.
One more thing I do at this stage: I count out how many jars I plan to fill and set the rest aside. For a market booth, I usually pour 24 to 30 candles across three or four scents. The 16 pack gives me a clean number to work with, and the extra jars stay in the box until I need them. I write the scent plan on a sticky note and tape it to the shelf, so I do not grab a jar meant for cedar and fill it with vanilla by accident. That sounds silly, but it happened once during a rushed Thursday pour, and I had to rewick and repour the whole batch.
Step 2: Wash the jars the right way, then dry them upside down
Even though the SHOWIN jars arrive clean, I still wash them before the first use. I use hot water and a drop of plain dish soap, and I wash them one at a time. No soaking, no abrasive scrubbers. A soft sponge is enough to get rid of any film left from manufacturing. I do this over a plastic dish tub in the garage sink, because the kitchen sink is where Dale stacks his coffee mugs, and I have learned not to mix my wax residue with his breakfast dishes.
The drying step is where I used to lose time. I learned to dry the jars upside down on a clean dish rack, not right side up. When jars dry right side up, water pools in the bottom and leaves spots. When they dry upside down, the water runs off the rim and the inside stays dry. I give them a final wipe with a lint free cloth right before I pour, just to be sure. The dish rack sits on the far end of the butcher-block table, away from the hot plate, so nothing splashes onto the clean glass while I am working.
Do not skip this step even if you are in a hurry. A single drop of water in the bottom of a jar can make your wax seize or create a rough surface. I have ruined two candles that way, and both times it was because I rushed the drying. The first was a batch of rosemary candles for a spring market. I poured them on a Thursday night, checked them Friday morning, and every single top had a crater around the wick. The moisture in the bottom of the jar had pushed steam up through the wax as it set. I had to remelt all twelve, which took the whole evening, and I sold none of them the next day.
Step 3: Set your wicks before the wax is even melted
I used to melt my wax first and then fiddle with wicks while the wax cooled. That is backwards. Now I set every wick before I turn on the hot plate. I use wick stickers to hold the metal tab to the bottom of the jar, then I wrap the top of the wick around a wick bar or a wooden skewer laid across the rim. The skewer keeps the wick perfectly centered while the wax sets. I bought a pack of bamboo skewers at the grocery store for a few dollars, and they have lasted me two years. I just snap off the charred end after each pour and the next skewer is ready.
For a 7 ounce jar like the SHOWIN, I use a medium cotton wick with a small metal tab. The exact wick size depends on your wax and your fragrance load, so keep notes. I keep a little spiral notebook in the garage with the wick size, wax type, and fragrance percentage for every batch. That notebook has saved me more times than I can count. When a new customer asks me what scent I recommend, I flip to the page for that candle and tell them exactly what is in it, how long I cured it, and how it burned in my own living room first.
Check each wick from the top before you pour. It should sit dead center, with the tab flat against the glass. A wick that leans to one side will cause a lopsided burn and a wasted candle. This is the step where the SHOWIN jars make my life easier, because the straight sides and flat bottom give the wick tab a stable surface to stick to. I have poured into jars with a curved bottom before, and the wick tab never sat flush. The wick drifted, the melt pool went crooked, and the candle burned down one side. You cannot fix that after the wax sets, so take the ten extra seconds to check every jar.
Step 4: Heat the jars before you pour
This is the trick that separates smooth candles from lumpy ones. I warm the empty jars on a baking sheet in the oven at the lowest setting, around 150 degrees Fahrenheit, for about 10 minutes before I pour. Warm glass helps the wax adhere to the sides and prevents cracking when hot wax hits a cold jar. I use the same baking sheet I bought for this purpose years ago. It has a few wax drips on it now, and it lives in the garage, not in the kitchen.
If you do not want to use the oven, you can set the jars on a heating pad or near a space heater. The goal is simply to take the chill off the glass. I have poured into cold jars before, and the wax pulled away from the sides as it cooled, leaving an ugly gap. Warming the jars takes ten minutes and saves you from a shelf full of candles that look like they have shrink wrap on them. One January market, I skipped the warming step because I was running late, and six of my twelve candles came out with a visible gap between the wax and the glass. I sold them at a discount and told the customers they were fine to burn, which they were, but I was embarrassed the whole day.
While the jars warm, I melt my wax on the two burner hot plate in a pouring pitcher. I use a soy coconut blend for most of my market candles, and I heat it to about 185 degrees Fahrenheit, then let it cool to 160 before I add fragrance. The temperature matters more than the brand of wax. Write down your numbers and stick to them. I also stir the fragrance in for a full two minutes, because I have learned that a quick thirty second stir leaves the scent uneven and the candle smells weak on one side of the jar.
Step 5: Pour slow, fill to the right height, and let the candles cure
When the wax is at the right temperature, I pour it slowly into each jar, aiming for the side of the glass rather than the wick. I fill each SHOWIN jar to about a quarter inch below the rim. That leaves room for the wood lid to sit flush without touching the wax, and it gives the candle a clean, professional look. I pour with my left hand holding the pitcher and my right hand steadying the jar, and I keep the stream thin. A thick, fast pour traps air and splashes wax up the sides of the glass, which means more cleanup and a rougher top.
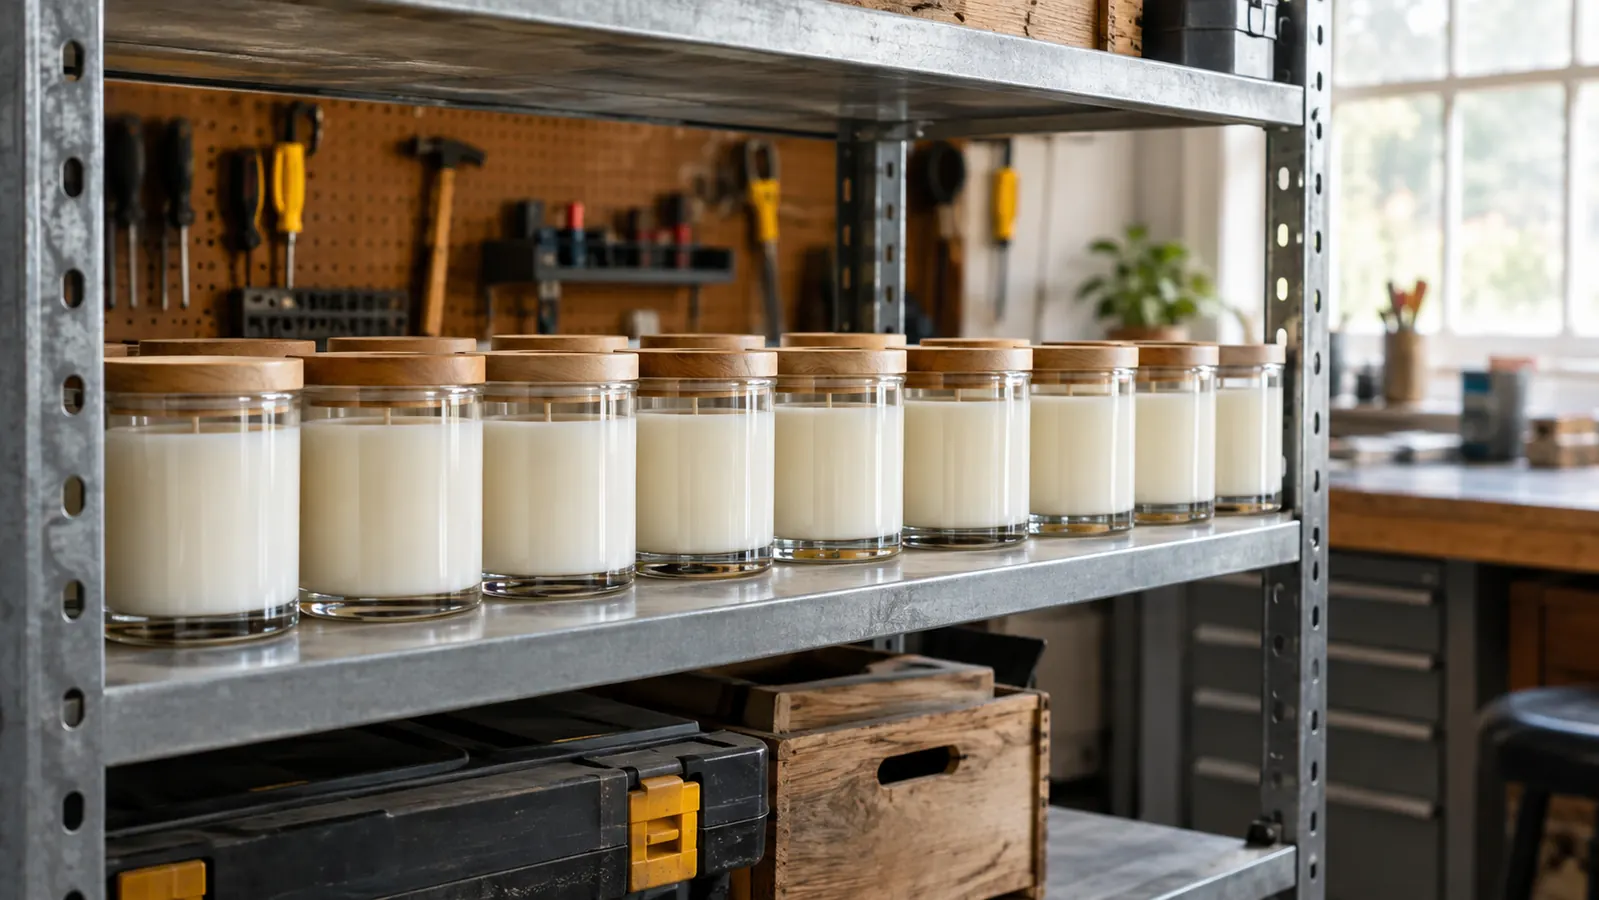
After the pour, I tap the jar gently on the table to release any air bubbles, then I let it sit undisturbed. I do not move the jars for at least 24 hours. Soy wax needs time to set properly, and moving it too soon can cause sinkholes around the wick. I leave my candles on the metal utility shelf for a full cure, usually three to five days before they go to market. I pour on Monday and Tuesday for a Saturday market, which gives the candles four full days to cure. That schedule has worked for me for three years straight.
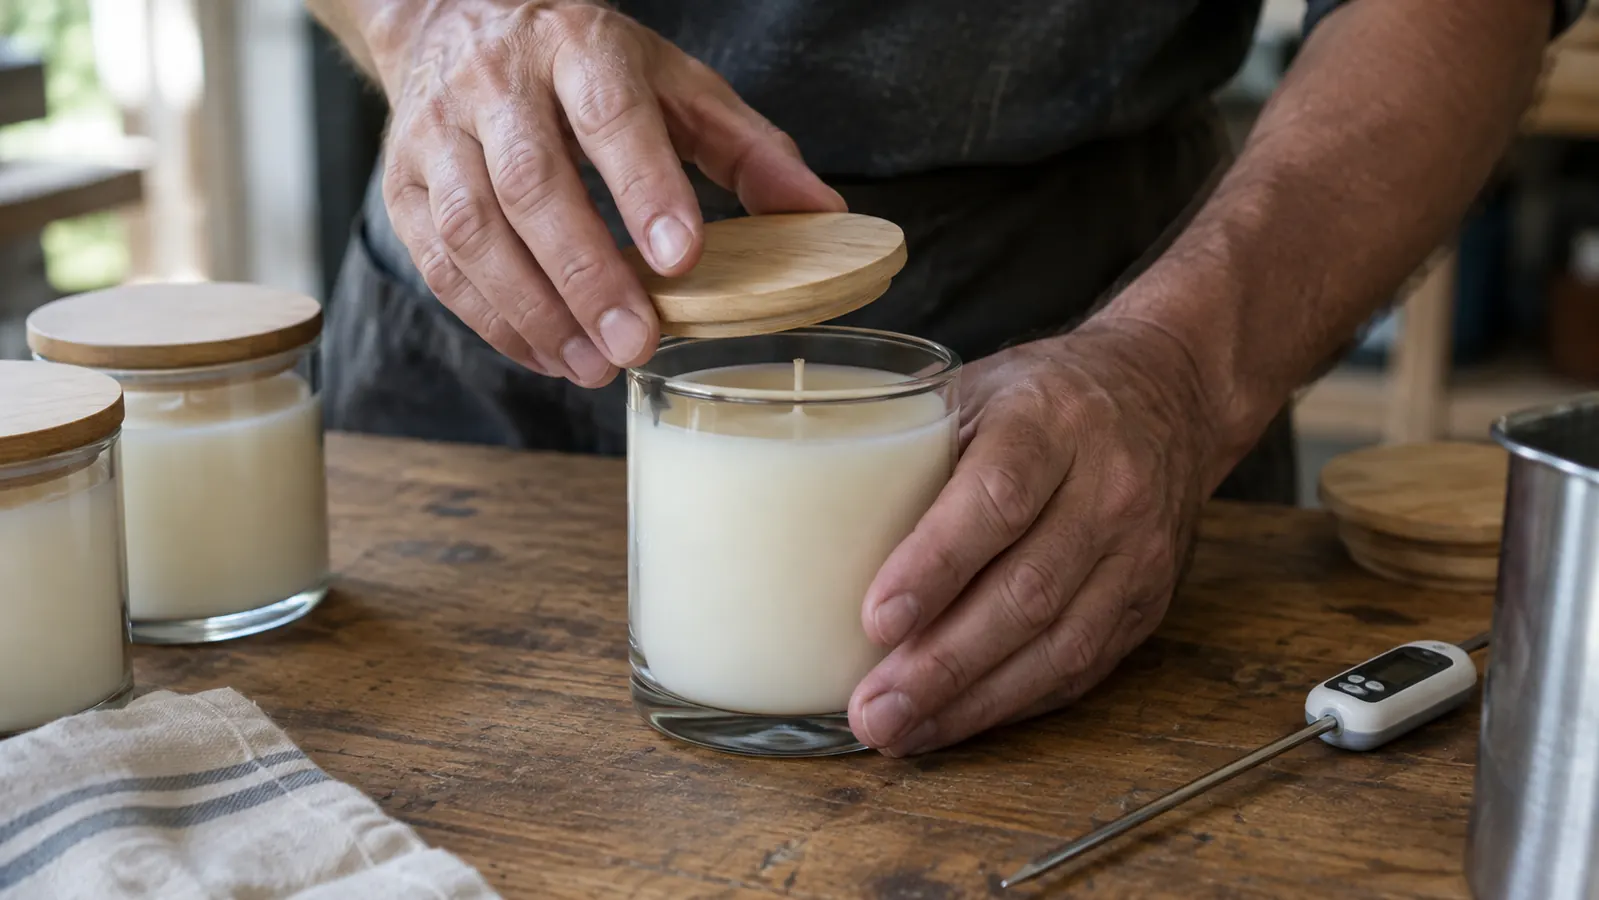
The wood lids from SHOWIN go on after the candle has fully cured, never before. If you put the lid on while the wax is still warm, condensation forms on the inside of the lid and drips back onto the candle. I learned that the hard way with a batch of lavender candles that came out with wet spots on top. I had to wipe each one with a dry cloth and hope the surface smoothed out before the market. It mostly did, but I still remember the panic of opening the box on Friday night and finding those spots.
What Else Helps
A few small tools make the whole process smoother. A pouring pitcher with a spout beats a measuring cup every time. A digital scale helps you get the same amount of wax in every jar. And a heat gun is worth its weight in gold for smoothing the tops of candles that set with a rough surface. I also keep a spray bottle of rubbing alcohol handy to mist the top of each candle right after pouring, which helps prevent sinkholes and gives a smoother finish. The alcohol evaporates fast and does not leave any smell, so it is safe to use with fragrance oils.
For the booth itself, I label every jar with a small sticker that lists the scent and the burn time. The SHOWIN jars have a nice flat surface on the front, which makes labeling easy and keeps the booth looking tidy. I also bring a few extra wood lids to the market, because people love to take the lid off and smell the candle, and a loose lid is easier to swap than a stuck one. I keep a basket of spare lids under the table, and at the end of the day I count them to see which scents people opened the most. That little habit tells me what to pour more of next week.
The jars do not make the candle, but they make the process a whole lot easier. When the glass is clean, the wick is centered, and the lid fits, you can focus on the wax and the scent, and that is where the craft actually lives.
Get the jars that make market prep feel manageable
The SHOWIN Candle Jars are the ones I reach for every single week. Clean glass, snug wood lids, and a size that works for a booth. Check today's price on Amazon and see if they fit your pour schedule.
Amazon Check Today's Price on Amazon →