
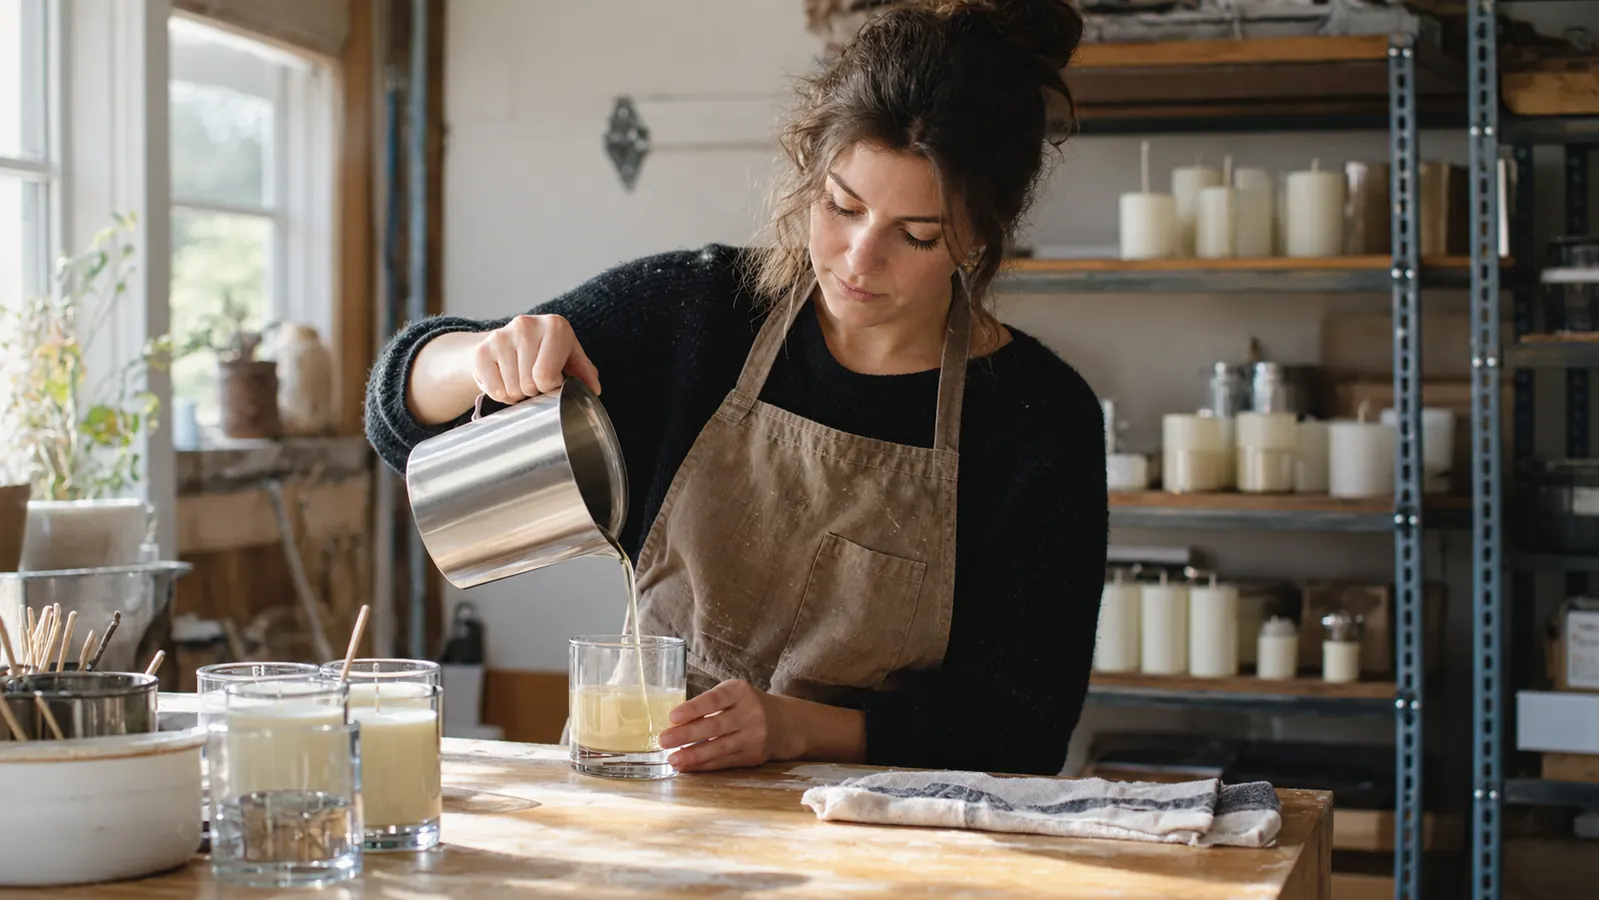
If you have ever unmolded a soy candle, or pulled the plastic wrap off a freshly cured jar, and found a top that looks like a frozen pond cracking in January, you know the exact frustration I am talking about. Frosting. Wet spots. That rough, mottled surface that makes a perfectly good candle look like it sat in a damp basement for a year. I have been pouring candles at my Saturday farmers market booth for about four years now, and for the first year I just accepted those tops as the price of using soy wax. Then I started testing the American Soy Organics Freedom Soy Wax in my garage workshop, and I found that most of those problems come down to pouring temperature, the speed of cooling, and a little patience.
The Freedom Soy Wax is the wax I now reach for when I want a clean, consistent pour. It is a natural soy wax sold in 5 pound bags of beads, and it has been my main container wax for about two years. But I want to be honest with you before we start: no soy wax is completely immune to frosting. Soy is a vegetable wax, and it shrinks as it cools. That shrink is what pulls the wax away from the sides of the jar and creates those wet spots. What I am going to show you today is the routine that has cut my frosting problems down to almost nothing, and it does not require expensive equipment. You can do this on a two burner hot plate at a folding table, which is exactly how I do it.
The 5 lb bag that made my pour days boring, in the best way
Freedom Soy Wax from American Soy Organics is the wax I use for nearly every container candle at my booth. It melts clean, holds fragrance well, and it is the wax that responded best when I fixed my pour temperature.
Amazon Check Today's Price on Amazon →Step 1: Measure the wax by weight, not by volume
The first mistake most new candle makers make is scooping wax beads into a pitcher and guessing. Soy wax beads look light and fluffy, so a full pitcher of beads does not weigh what you think it does. If you guess, you end up with a jar that is either half full or overflowing, and you waste good wax. I use a digital kitchen scale and a stainless steel pouring pitcher, and I weigh the beads directly in the pitcher before I turn on the hot plate.
How much wax you need depends on your jar. The rule I use is simple: fill the jar with water to the height you want your candle to reach, pour that water into a measuring cup, and multiply the number of fluid ounces by 0.85. That gives you the weight of wax you need in ounces. For a standard 8 ounce jar, I weigh out about 6.8 ounces of Freedom Soy Wax beads. Write the number on a piece of masking tape and stick it to the jar, because you will make the same candle again next week.
Weighing by weight instead of volume is the first thing that made my candles consistent. When every jar gets the same weight of wax, every jar behaves the same way in the melt pot. That consistency carries through to the cure and the burn, and it is the foundation for everything else in this guide.
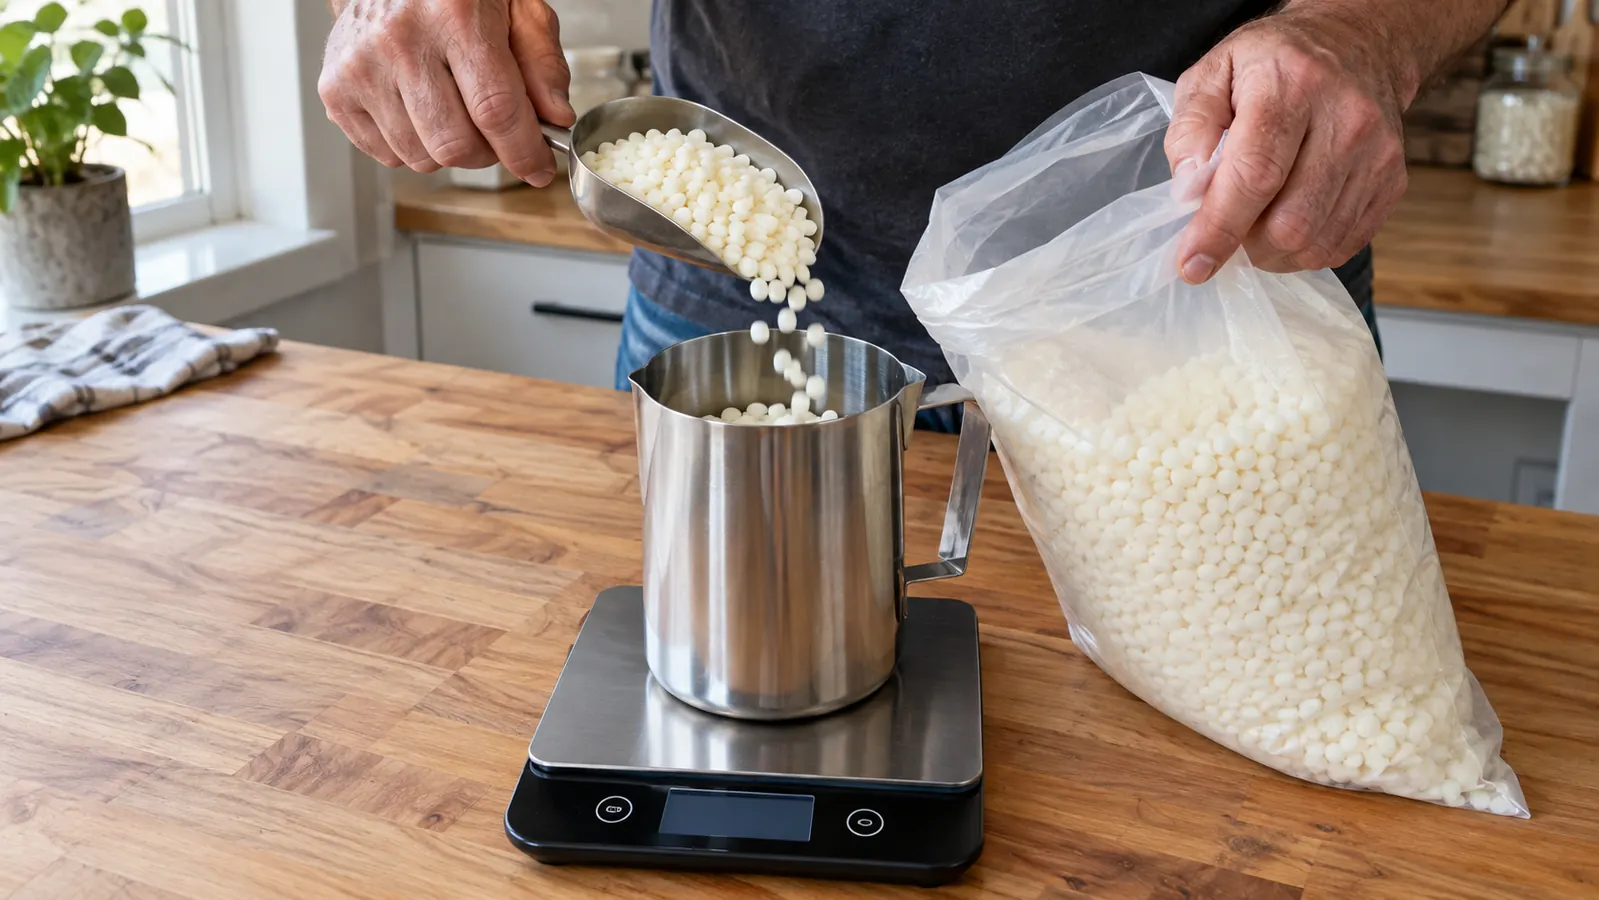
Step 2: Melt slowly and never rush the hot plate
I melt my Freedom Soy Wax on a two burner electric hot plate set to medium low. The goal is to melt the beads gently, not to blast them. If you set the heat too high, you can scorch the wax at the bottom of the pitcher, and that scorched smell will hang around in your finished candle. Soy wax has a low melting point compared to paraffin, so it does not need aggressive heat. Give it time.
I stir the beads occasionally with a dedicated stainless steel spoon as they melt. You will see the beads collapse into clear liquid, and you want to keep stirring until there are no solid bits left. Once the wax is fully liquid, I let it keep heating until it reaches about 185 F. I check the temperature with a simple infrared thermometer, the same kind I use to check the temperature of the pork shoulder I smoke in the backyard. You do not need a fancy lab thermometer. You just need to know the number.
This is the temperature that matters for fragrance, and it is the temperature that matters for frosting later. If you add fragrance oil at the right temperature and pour at the right temperature, you give the wax the best chance to cool into a smooth, even surface. Most of my frosting problems in the early days came from pouring wax that was too hot, and I did not know it.
Step 3: Add fragrance at the right temperature
When the melted Freedom Soy Wax reaches about 185 F, I take the pitcher off the heat and let it sit for a minute. Then I add my fragrance oil. The recommended flash point for most candle fragrance oils is around 180 F, which means the wax should be below that temperature when you add the oil. If you add fragrance to wax that is too hot, the scent burns off and your finished candle will smell faint, no matter how much oil you used.
The amount of fragrance is a ratio, not a splash. For Freedom Soy Wax, I use about 1 ounce of fragrance oil per pound of wax, which is roughly 6 percent. That is the rate that has given me the best scent throw without any sweating or oil pooling on the top of the candle. I weigh the fragrance oil on the same digital scale, because pouring it by eye is how you end up with a candle that sweats.
Stir the fragrance in gently for a full two minutes. You want the oil fully incorporated into the wax, not floating on top. This is also the moment I check the temperature again, because the next step depends on the wax being in a specific range. I have learned to do this by habit now, but I still check the number every single time.
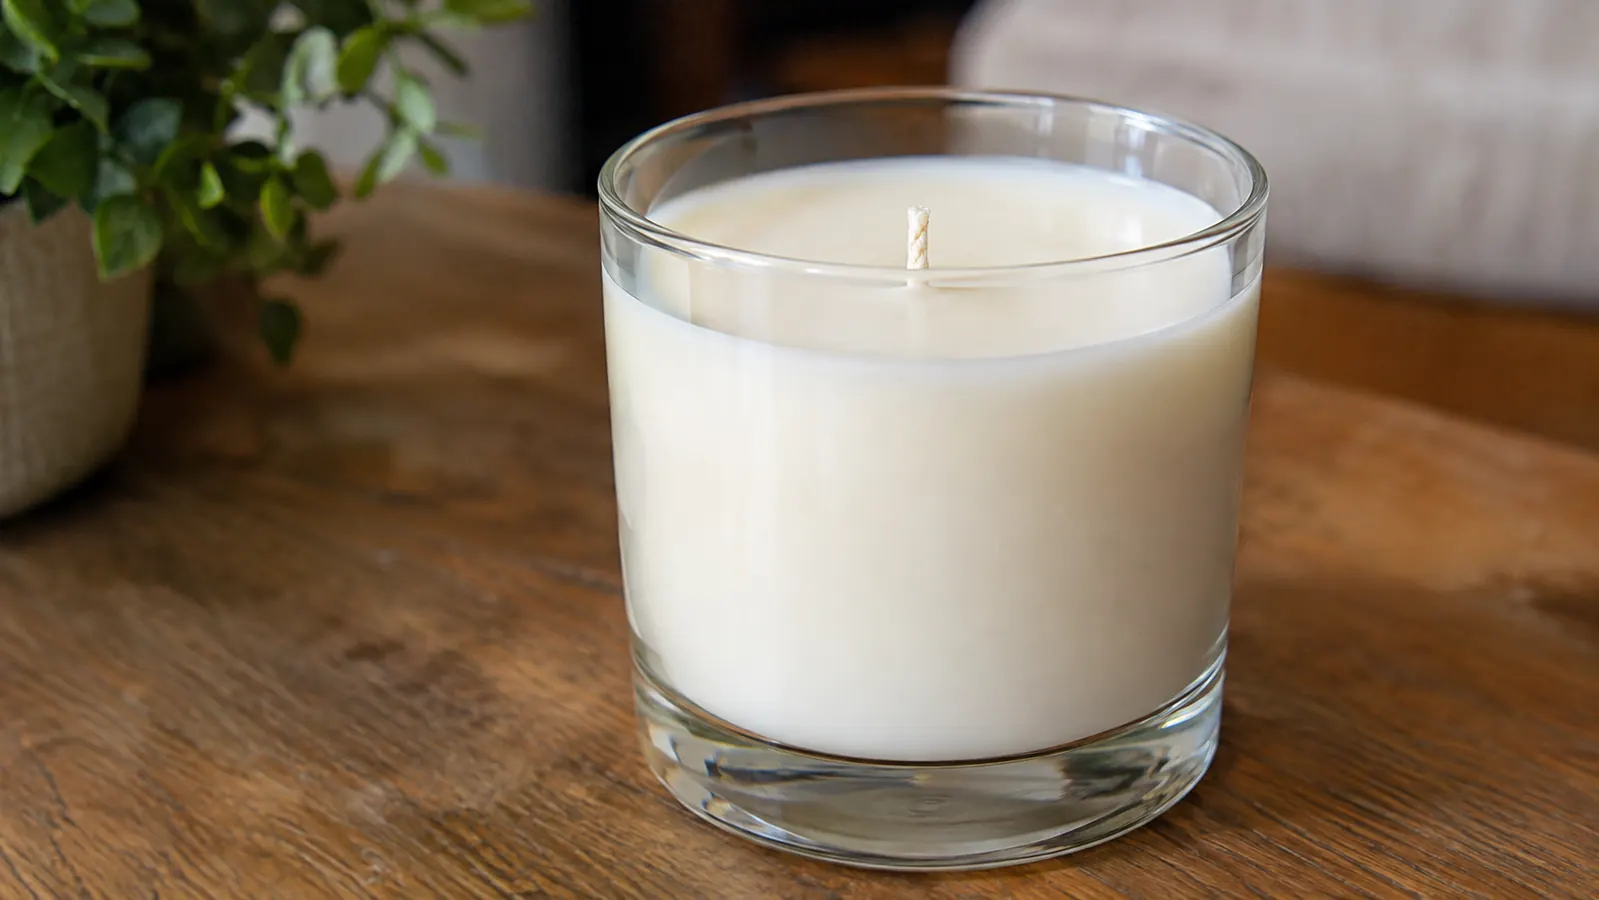
Step 4: Pour at 135 F and do not touch the jar afterward
Here is the step that fixed my wet spots and frosting, and it is the step most tutorials rush past. After you add fragrance, let the wax cool until it hits about 135 F, and only then pour it into your prepared jar. I know 135 F sounds oddly specific, and I know you are standing there with a hot pitcher wondering why you are waiting. But the temperature of the wax when it hits the jar determines how it shrinks as it cools.
Pouring too hot means the wax cools too fast against the glass and pulls away from the sides, leaving those ugly wet spots. Pouring cooler, around 135 F, lets the wax settle evenly and release from the glass more gently. I pour in a slow, steady stream into the center of the jar, trying not to splash wax up the sides. Then I set the pitcher down and I do not touch the jar. No wiggling it. No moving it to a better spot. No tapping it to pop bubbles. I leave it completely alone on the butcher block table to cool at room temperature.
This is the hardest part of candle making for me, because I am a fixer. I want to poke at things. But every time I have moved a cooling candle, I have created a new ridge or a new wet spot. The wax needs stillness to cool evenly. If you pour at the right temperature and then let the jar sit, the surface will usually come out smooth and flat all on its own.
Step 5: Let it cure and resist the urge to burn it tonight
The candle looks done after a few hours, but it is not done. Soy wax needs time to cure, which means the fragrance needs time to bind with the wax. I let my Freedom Soy Wax candles cure for at least 48 hours before I burn one, and a full week is even better if I can plan ahead. Candles that cure longer throw their scent more strongly and burn more evenly. This is the step that separates a candle that smells like a candle from a candle that smells like a faint whisper of what it should be.
During the cure, I leave the candle on the metal utility shelf in my garage workshop, out of direct sunlight and away from any drafts. A sudden temperature change during curing is another cause of frosting, so I do not put curing candles near a window or a heating vent. I also do not trim the wick until the candle is fully cured, because I have found that trimming too early can disturb the surface while it is still settling.
When the candle is finally ready, I trim the wick to about a quarter inch and do a test burn. The first burn should last long enough for the entire top surface to melt, which for an 8 ounce jar is about two to three hours. That first full melt pool sets the memory of the candle and prevents tunneling. If the surface is smooth and the scent throw is good, I know I poured it right.
What Else Helps
Pouring temperature is the biggest lever, but it is not the only one. I keep a few other habits that have made my candles look more professional. I warm my glass jars slightly before pouring, which means I set them on the corner of the hot plate for a minute or two until they are warm to the touch. A cold jar shocks the wax and encourages wet spots. I also wipe the inside rim of the jar with a paper towel after pouring, before the wax sets, so the rim is clean and the lid fits properly.
I prime my wicks before I pour by dipping them in a little melted wax, which helps them stand straight and light easily. And I keep a small heat gun on the shelf for the occasional stubborn bubble or rough patch on the top. A quick pass with the heat gun after the candle has set smooths the surface beautifully. But I want to be clear: the heat gun is a rescue tool, not the routine. If you pour at 135 F and let the candle cool still, you should not need it very often.
Pouring cooler, around 135 F, is the single change that took my soy candles from frosty and rough to smooth and presentable. The wax needs stillness to cool evenly.
One more thing that helps is keeping notes. I have a spiral notebook in the garage where I write down the wax, the fragrance, the pour temperature, and the cure time for every batch. When a candle comes out wrong, I can look back and see what I did differently. When a candle comes out perfect, I can repeat it. That notebook has taught me more about candle making than any video I have watched.
Start your next pour day with a clean, predictable wax
Freedom Soy Wax from American Soy Organics is the wax I trust for my booth candles. It melts clean, holds fragrance, and plays nicely with the 135 F pour. Grab a 5 lb bag and test the routine for yourself.
Amazon Check Today's Price on Amazon →