
There is nothing more frustrating than pouring a batch of candles, waiting two days for them to cure, and then lighting one only to smell almost nothing. I have been there more times than I like to admit. After four years of pouring soy and coconut-soy container candles at a Saturday farmers market booth outside Chattanooga, I have learned that most weak-smelling candles are not a wax problem and they are not a wick problem. They are a measuring and testing problem. This guide walks through the exact process I use now, with the Fiora Naturals Fragrance Oil Set as the recommended tool, so you can skip the trial and error that cost me my first three batches.
Before we get into the steps, one honest note: fragrance oil is only part of the equation. Your wax, your wick, your pour temperature, and your cure time all matter. What the Fiora Naturals set does well is remove the variable of bad or inconsistent oil, which is the hardest variable to diagnose. When you know the oil is reliable, every other mistake becomes easier to spot.
Start with a sampler set before you commit to a gallon
The Fiora Naturals Fragrance Oil Set is the kit I reach for when I want to test a new scent without committing to a large bottle. It is also the set I recommend to people at my booth who are just starting out.
Amazon Check Today's Price on Amazon →Step 1: Measure Your Fragrance Oil by Weight, Not by Drops
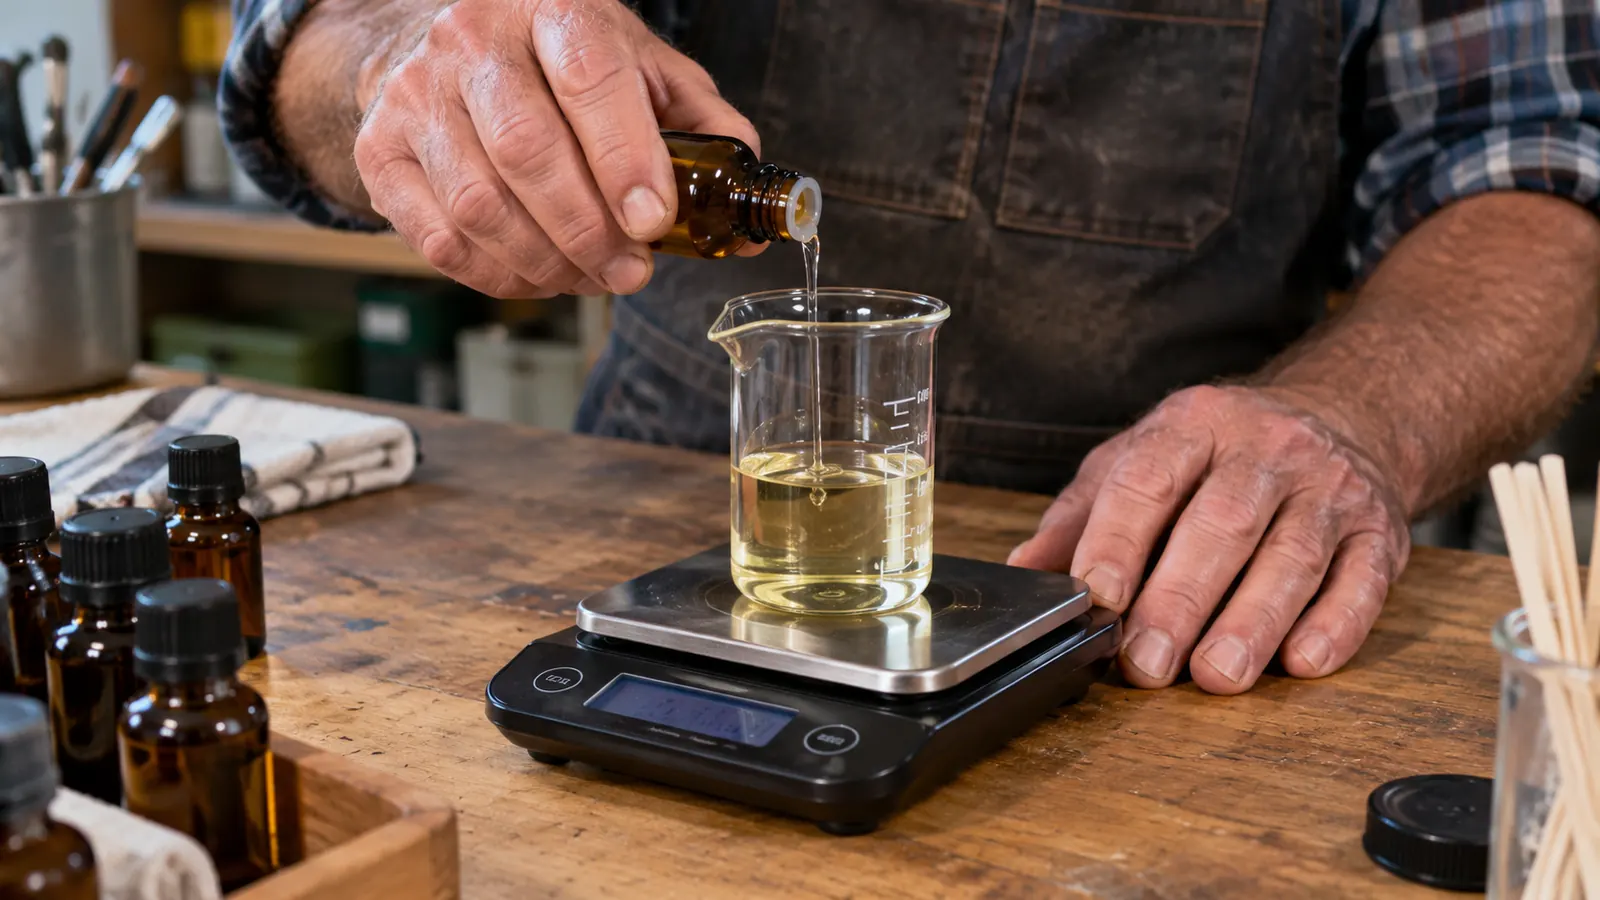
The first mistake most new candle makers make is treating fragrance oil like an ingredient you can eyeball. A drop from one bottle is not the same as a drop from another, and a dropper full of a thick oil like vanilla is heavier than a dropper full of a thin citrus oil. The only reliable way to measure is by weight, on a digital scale that reads to 0.1 grams.
Here is the formula I use for container candles. Decide your fragrance load as a percentage of total wax weight. I pour most of my soy candles at 8 percent, which means 8 grams of fragrance oil for every 100 grams of wax. Some waxes can handle 10 percent, but 8 is a safe starting point for most soy and coconut-soy blends. If you are using a wax you have not tested before, start at 6 percent and work up.
I learned to weigh oil the hard way. In my first year of pouring, before I owned a scale that read to tenths of a gram, I counted drops into twelve 8 ounce jars of the same soy wax. Three of those candles came out smelling like nothing at all. Four were fine. One was so strong it smelled like a cleaning product, and I had to melt it down and repour it with plain wax just to tone it down. Same wax, same wick, same pour temperature, same afternoon. The only difference was how much oil actually landed in each pitcher. That was the batch that convinced me to buy a proper digital scale and never count drops again. It took one ruined afternoon to learn what a proper scale would have taught me for free.
Weigh the empty pouring pitcher, tare it, add your wax, and record the wax weight. Then do the math: wax weight multiplied by your chosen percentage. That number is your fragrance oil target. Tare the scale again, and add oil slowly until you hit it. With the Fiora Naturals set, the bottles are small enough that you can add oil steadily and stop right at your target weight without overshooting.
Step 2: Add the Oil at the Right Temperature
Temperature matters more than most beginners realize. If you add fragrance oil when the wax is too hot, you can burn off the lighter notes and the candle will smell flat. If you add it when the wax is too cool, the oil may not bind properly and you will get poor throw or even pooling oil on top of the candle.
For soy and coconut-soy waxes, I heat the wax to about 185 degrees Fahrenheit, then let it cool to around 165 to 170 before adding the oil. I stir gently for a full two minutes. A silicone whisk works well, but a metal spoon works too. The goal is to get the oil fully incorporated without whipping air bubbles into the wax.
I ruined a whole batch of sandalwood this way once. It was the Thursday before a Saturday market, and I was trying to squeeze a fresh pour into an already full day. I skipped the cooling step and stirred the oil straight into wax that was still at 185 degrees. The candles looked fine, cured fine, and weighed exactly what they should have. But when I lit one, all I got was warm wax with a hint of sawdust. The oil was good oil, I still use that same bottle today. I had cooked the lighter notes right out of it before they ever had a chance to bind with the wax. Now I set a timer on my phone for the cool-down every single time, even when I am running late for a market, because one ruined batch costs more than the ten minutes of waiting ever will.
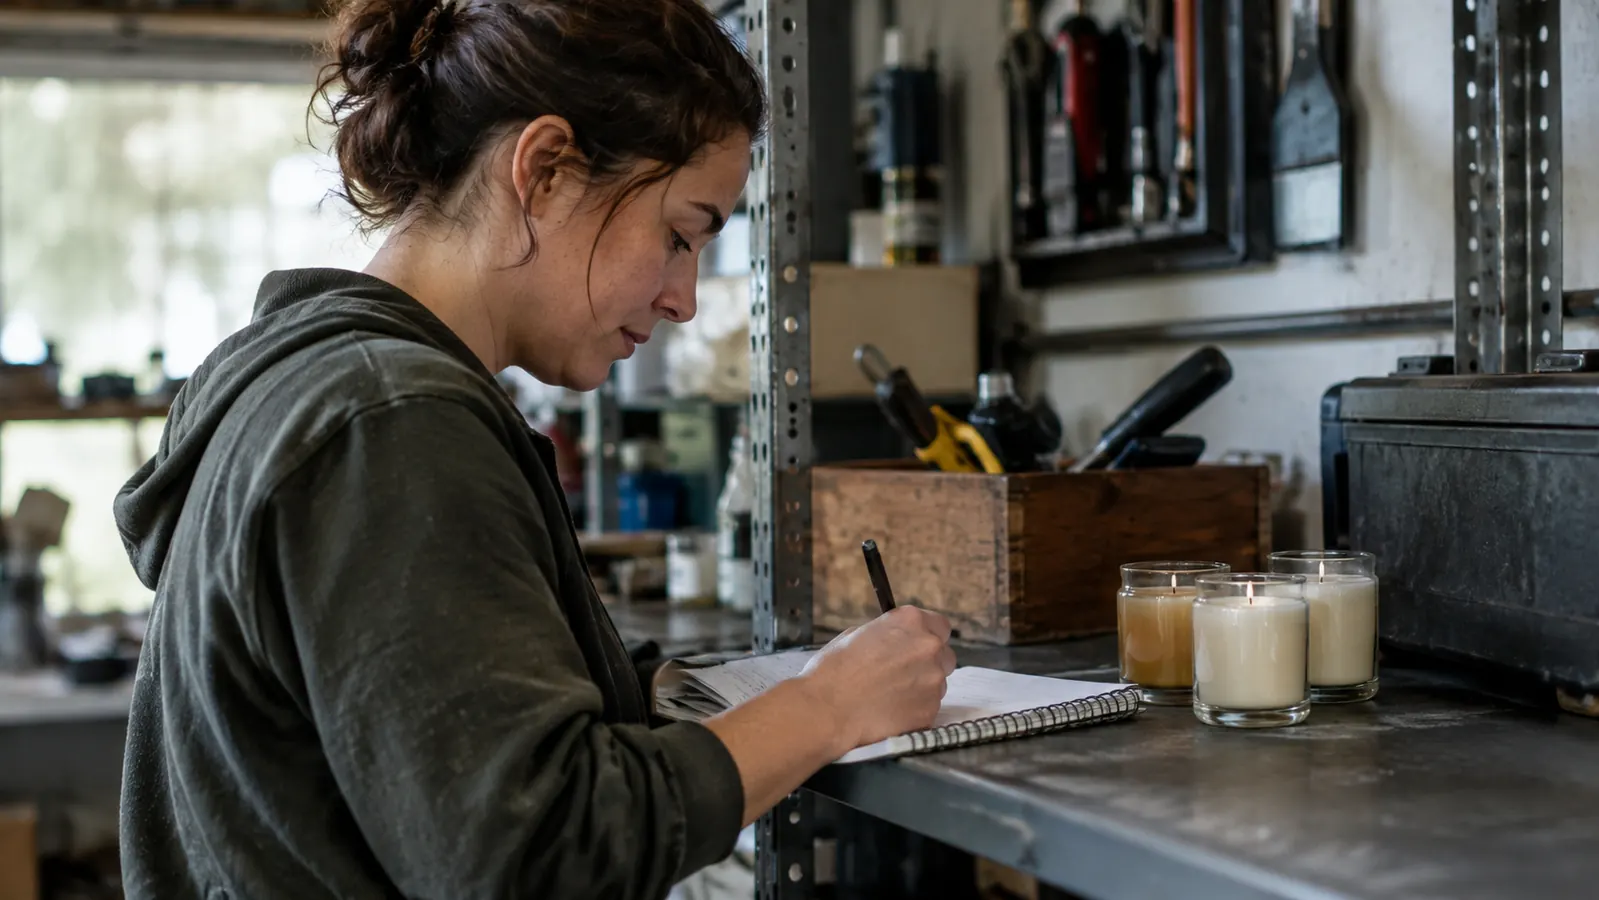
This is also the point where I write down what I did. A notebook with the date, the wax, the oil, the percentage, and the pour temperature has saved me more times than I can count. You cannot diagnose a problem later if you do not know what you actually did in the first place.
Step 3: Pour, Cure, and Be Patient
Pour your wax into the prepared container at the temperature recommended for your specific wax, usually somewhere between 135 and 155 degrees Fahrenheit. Leave a little headroom at the top, and let the candle cool slowly and undisturbed. A sudden draft or a cold surface can cause cracking or frosting, especially in soy.
Then comes the part nobody likes: waiting. A candle needs time to cure before the fragrance fully bonds with the wax. I have seen candles that smelled weak on day two smell perfectly strong on day seven. My general rule is to wait at least 48 hours before testing, and I prefer a full week when I am testing a new oil for the first time.
The batch that taught me this was a coconut-soy blend with a vanilla oak oil I had never used before. On day two, I lifted the lid and got almost nothing. I was ready to write the oil off, melt the whole thing down, and pour something I knew would sell. On day six, I walked into the garage and could smell it from the door with the lid still on. Same candle, same oil, same percentage. The only thing that had changed was time. That one experience is why I now schedule every new scent test a full week before I actually need the answer. If you only take one thing from this guide, let it be that week of patience. It will save you from throwing out more good wax than any other habit I know.
During the cure, keep the candles on a flat surface away from direct sunlight and temperature swings. I use a metal utility shelf in the corner of my garage. It is not fancy, but it keeps the candles stable and out of the way.
Step 4: Test Cold Throw First
Cold throw is how strongly the candle smells when it is not lit. Take the cured candle, remove the lid if it has one, and put your nose about an inch above the surface. You should be able to smell the fragrance clearly without sticking your nose into the wax. If you have to press your face right down to the wax to get anything, the candle will likely have weak hot throw too.
Cold throw is a useful early warning sign, but it is not the whole story. Some oils smell faint when cold and bloom when lit. Others smell strong when cold and disappear once the flame is going. That is why the next step matters even if the cold throw seems fine.
Test a few candles with the same oil but different fragrance percentages. I pour one at 6 percent, one at 8, and one at 10, and label the lids with a permanent marker so I never mix them up. The Fiora Naturals set makes this easy because the bottles are small enough that I do not feel guilty using a few extra grams for testing.
Step 5: Burn Test for Hot Throw
Hot throw is how the candle smells while burning. This is the test that actually matters for the people who buy from you. Light the candle, let it burn until the entire top surface has melted into a full melt pool, which for a standard 8 ounce jar usually takes about two to three hours. Then leave the room for a few minutes and come back. Can you smell it from the doorway? Can you smell it from across the room? I do this in the evening, when the house is quiet and I can close the door behind me.
I also pay attention to how the scent develops over time. A candle can smell great for the first hour and then turn soapy or plasticky after that. If that happens, the oil is likely not compatible with your wax at that percentage, or it needs a longer cure. Try the same oil at a lower percentage, and try it again after a longer cure, before you give up on it.
One burn log entry I will never forget reads: October 12, 2024. Cedar and sage at 8 percent, ECO-8 wick, full melt pool at 2 hours 20 minutes. Smell from the doorway: yes, but faint. Smell from across the room: no. Verdict: try 10 percent. I poured the same oil again at 10 percent, let it cure the full seven days, and burned it again. That time I could smell it from the kitchen while the candle sat in the living room. That same oil became one of the first scents I sold out of at the booth the following spring. The oil had not changed. The percentage and the patience had. That is the whole point of a burn log: it turns a vague feeling that something is off into a specific fix you can test.
Keep a burn log. For each test candle, I record the date, the oil, the percentage, the wick, the melt pool time, and my honest impression of the hot throw from across the room. After a few rounds, you will have a short list of reliable combinations you can pour without second-guessing yourself.
What Else Helps
Beyond the oil itself, three things improved my throw more than anything else. First, wick size. If your wick is too small, the melt pool never gets big enough to release the fragrance. If it is too big, you get soot and a candle that burns too fast. I test at least two wick sizes for every new jar I use. Second, cure time. I know it is tempting to sell candles the day after pouring, but a few extra days of cure almost always makes the scent stronger and cleaner. Third, storage. Keep your fragrance oils in a cool, dark place with the lids on tight. Heat and light degrade oils over time, and degraded oil will never throw well no matter how careful you are with the rest of the process.
One more thing worth saying: your nose is the best tool you have, but it gets tired. When I am testing several candles in one evening, I step outside for a minute between burns and sniff my sleeve to reset. It sounds silly, but it keeps the tests honest. I also avoid testing right after a strong meal, because coffee or a spicy lunch will skew what I smell for the next hour.
A weak-smelling candle is almost never a wax problem. It is a measuring problem, a temperature problem, or a patience problem.
Test a few oils this weekend and keep what works
The Fiora Naturals Fragrance Oil Set gives you enough variety to run your first real throw tests without buying a dozen full-size bottles. Grab it on Amazon, pour a few small test jars, and let the burn log tell you what to stock.
Amazon Check Today's Price on Amazon →